Troubleshooting
Start with the LED. It tells you which of the three subsystems — meter, Wi-Fi, Zigbee — is unhappy, and that decides which section below applies.
| Symptom | Section |
|---|---|
| Green LED blinks 3× | The meter does not answer |
No ZiggyMeter-XXXX hotspot | No hotspot |
| Hotspot joins but no page opens | The web interface will not open |
| Red LED blinks 3× | Wi-Fi will not join |
| Blue LED never goes solid | Zigbee will not join |
| Readings on the device but not in Home Assistant | Data does not reach Home Assistant |
| Batteries flat in days | Batteries drain quickly |
| Forgot the password | Locked out |
TIP
Open the serial console first. Plug in USB-C, open the port at 115200 8N1, and the device narrates what it is doing. Most of the questions below answer themselves in one line of log. See USB serial console.
The meter does not answer
Three quick green blinksmean the readout failed. The serial log distinguishes the two cases that matter:
Failed to get meter identification— the device is not hearing the meter at all.- An identification string appears, but the readout still fails — the optical link works and the problem is protocol configuration.
Nothing heard from the meter
- Alignment. The device must sit flat on the metal ring, vertical, arrow pointing up. See Mounting on the meter.
- Cleanliness. Wipe both optical windows. Dust and condensation are the most common cause.
- Movement. If it can rock or slide, it will read intermittently.
- Is the port enabled? Some utilities ship meters with the optical interface disabled, or require a button press on the meter to activate it for a period. Check the meter's own manual.
- Mode D. A mode D meter transmits unprompted and never answers a request. If the meter documentation says mode D, enable it under Meter protocols → Mode D.
Identification works, readout fails
- Lower the maximum baud rate. 9600 over a marginal optical path is a common failure; 2400 often works. See Meter protocols.
- Battery-powered meter. Enable the wake-up sequence under Meter → Configuration → Transmission.
- Wrong protocol. If the meter announces mode E, it is offering DLMS. Enable Use DLMS/COSEM when the meter reports mode E.
- DLMS authentication. With the wrong password or client address, the association fails. Values come from your utility. See DLMS/COSEM.
- Objects that do not exist. A DLMS poll list asking for registers your meter does not have wastes time and can time out. Trim the list.
Fewer values than expected
This is usually normal. Meters differ in what they expose, and a utility can restrict it further. A single-phase meter has no phase B or C values; a meter without export metering has no 2.8.0. See Before you buy.
For DLMS, a readout containing only the meter name and serial number means you are connected as the public client — no authentication, so the meter releases nothing but its identification objects. That is not a fault to debug: ask your utility for LLS credentials and set them under DLMS/COSEM.
No hotspot
The red LED should show a long pulse about once a second:
- Red LED dark. The device was configured before, so it does not start the Access Point automatically. Hold the button for 3 seconds to activate Wi-Fi.
- Still nothing. The device may be joining a stored network instead. Watch for the red LED breathing, then going solid — that is client mode, and the device is on your network at a router-assigned address.
- Neither. Perform a factory reset.
- 5 GHz only phone? Rare, but some devices need 2.4 GHz explicitly enabled. The hotspot is 2.4 GHz.
The web interface will not open
You are joined to ZiggyMeter-XXXX but no page appears.
- Type the address in full:
http://192.168.4.1. - Use
http://, nothttps://. Port 443 is closed in Access Point mode. If your browser silently upgrades to HTTPS, type thehttp://prefix explicitly, or try a different browser. - Unplug the Ethernet cable. A laptop with a wired connection sends the request through the wire, not the hotspot. This also stops the captive-portal page from appearing.
- Turn off "private Wi-Fi address"/randomised MAC if your phone cannot get an address.
- Disable mobile data briefly — some phones route everything over cellular when the Wi-Fi has no internet.
Once the device is on your own network, it uses HTTPS with a self-signed certificate. The browser warning is expected: choose Advanced and continue. See Security.
Wi-Fi will not join
Three quick red blinks.| Cause | Check |
|---|---|
| Wrong password | Retype it; passwords are case-sensitive |
| 5 GHz network | Only 2.4 GHz is supported. A combined SSID may steer the device to 5 GHz — try a separate 2.4 GHz SSID |
| Weak signal | Check RSSI on WiFi → Status; see Antenna and signal |
| MAC filtering | Add the device's MAC to your router's allow list |
| Full DHCP pool | Check the router |
| Captive portal on your own network | Not supported; the device cannot click through a sign-in page |
If the device can no longer reach a network it previously joined, and Fallback AP is enabled, it will host its own hotspot again so you can correct the settings. If it is not enabled, use the button or a factory reset.
Zigbee will not join
The blue LED blinks slowly in pairing mode and goes solid once joined.
- Is Zigbee enabled? It is off by default. Turn it on under Zigbee → Configuration → ENABLED, then . This restarts the device.
- Is permit-join open on the coordinator? It usually closes automatically after a few minutes.
- Reset Zigbee on the device. Click the button 3 times — 4 times if the device is asleep, because the first click only wakes it.
- Range. Move the device closer to the coordinator for the initial join, or add a mains-powered Zigbee router in between.
- Third-party devices allowed? Some vendor hubs only accept their own products.
A "device not supported" message in Zigbee2MQTT is harmless — it means the device is not in the Zigbee2MQTT database, not that it fails to work. See Zigbee2MQTT.
Data does not reach Home Assistant
Native (Wi-Fi) integration
- Use on the Home Assistant page — it reports whether the device can reach and authenticate against your instance.
- HTTPS needs a certificate. If your Home Assistant URL uses
https, you must import the server certificate; without it the connection always fails. - Token. Long-lived access tokens are shown once. If in doubt, create a new one.
- Trigger a reading. Sensors are created on the first successful publish, not when you save the settings.
- Wi-Fi only. The native integration does not work over Zigbee.
Zigbee integration
- Attributes exist but your platform ignores them — this happens. Check the raw cluster values in the coordinator's own tools (Zigbee2MQTT Dev console, ZHA Manage device).
- A
nullvalue means the meter did not report it, not that the link failed.
Batteries drain quickly
In order of impact:
- Reading too often. A one-minute schedule on batteries is a bench setting, not an installation setting. See Meter readings → Schedule.
- Wi-Fi instead of Zigbee. Wi-Fi is dramatically more expensive per exchange.
- Power saving set to Never. Set it back to Auto.
- Weak signal causing retries. See Antenna and signal.
- Cold. Rechargeable NiMH cells lose capacity in the cold; alkaline cells do better.
Locked out
Forgotten the administrator password? A factory reset is the only way back in. It restores the password from the label supplied with the device, and clears Wi-Fi credentials and Zigbee pairing along with it. Firmware is unaffected.
The device is unreachable but the LEDs look fine
- On batteries it is asleep. That is correct behaviour — click the button to wake it, or hold for 3 seconds to bring Wi-Fi up.
- The IP address changed. Check your router's client list, or reach the device by hostname. A DHCP reservation prevents this.
Collecting diagnostics
There are two separate things, collected in different ways. For a meter problem, send both.
Diagnostic report
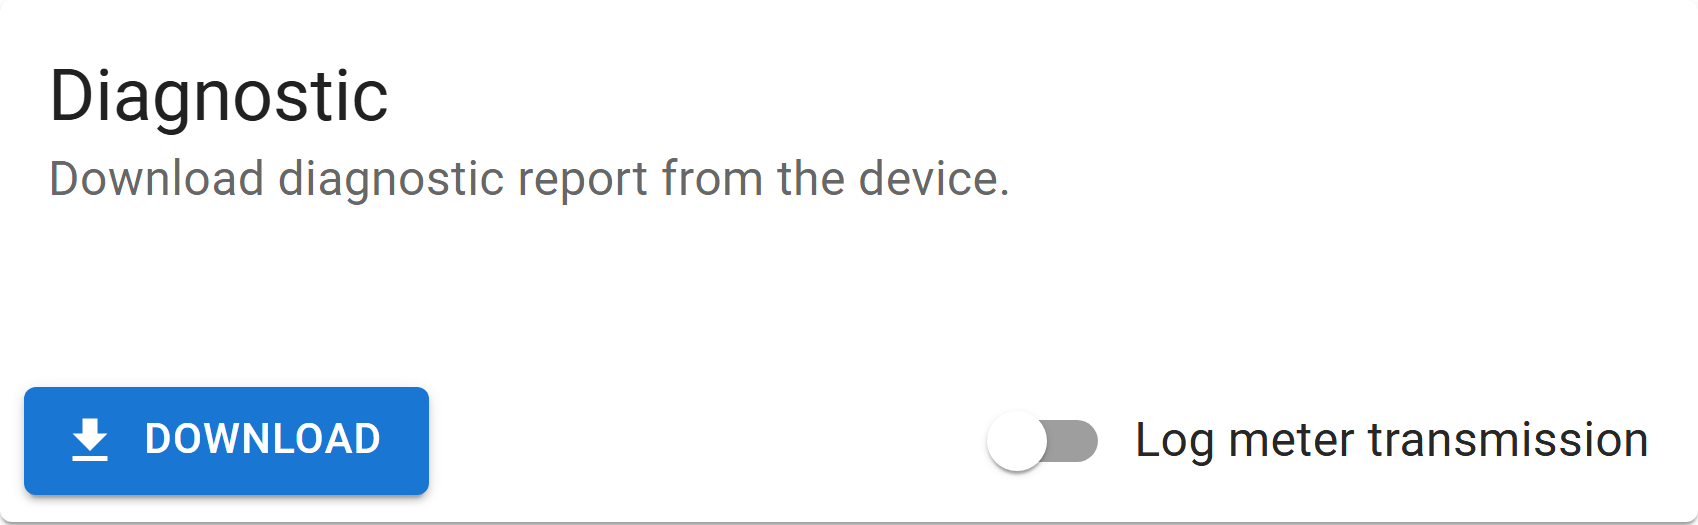
- Open System → Diagnostic.
- Select to save the report.
- Send it to support.
INFO
The report is an encrypted binary file intended for the manufacturer. It contains no passwords, but may include your meter's serial number.
Meter transmission log
This records the raw optical conversation with the meter, which is what makes meter problems solvable. It is not part of the diagnostic report — it is printed on the USB serial console, so you need a USB-C cable and a terminal to capture it.
- Connect USB-C and open the port at
115200 8N1. - Open System → Diagnostic and enable Log meter transmission.
- Trigger a reading — the exchange is printed as it happens.
- Copy the console output and send it with your report.