Mounting on the meter
Orientation
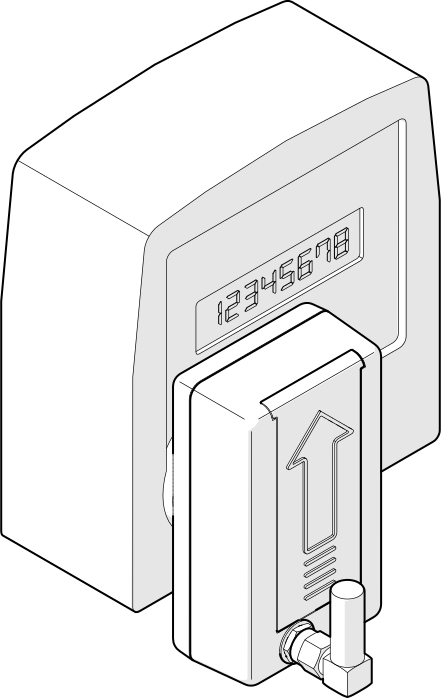
ZiggyMeter must be installed vertically, with the arrow on the enclosure pointing upwards. This aligns the infrared emitter and receiver with the meter's own optics.
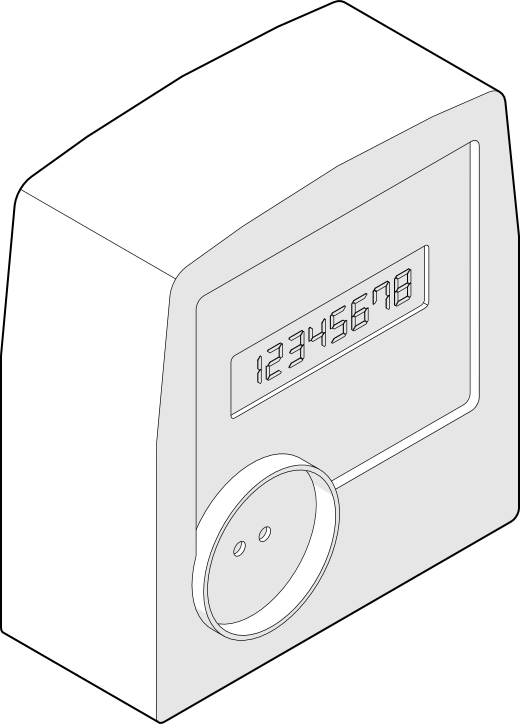
- Magnetic attachment — an internal magnet snaps the device onto the metal ring around the meter's optical interface. No screws, tape or tools are required.
- Flat contact — the device must sit flat against the meter face and must not be able to rock or slide. Most unstable readings are caused by movement, not by the protocol.
TIP
Wipe both optical windows before mounting. Dust and condensation in a meter cabinet are a common cause of intermittent readings.
Check that it reads
With the device mounted, trigger a reading:
- Button — a single short click.
- Web interface — Meter → Readings → .
Watch the green LED:
| Green LED | Visual | Meaning |
|---|---|---|
| breathing | Sending the identification request | |
| continuous | Meter answered; readout in progress | |
| 3 quick blinks | No usable answer from the meter |
If you get three blinks, work through Troubleshooting → The meter does not answer.
Cabinet considerations
Meter cabinets are usually metal, which blocks 2.4 GHz radio. If Wi-Fi or Zigbee is weak once the device is in place, see Antenna and signal — the antenna is detachable and can be routed outside the cabinet.
Leave enough slack on a USB-C cable that closing the cabinet door does not pull the device off the meter.
Battery access
Removing the device to change batteries breaks nothing: settings, Wi-Fi credentials and Zigbee pairing are stored in non-volatile memory and survive a power cut. Only the clock resets, and it re-synchronises once the device is back on the network. See Power and batteries.