Web Interface
The built‑in web interface lets you configure the device and monitor live meter readings. It is available when Wi‑Fi is active.
The interface is responsive and designed to work seamlessly across mobile phones, tablets, and desktop PCs.
First time connection
Follow these steps the first time you power the device:
- Power on the device.
- Activate Wi‑Fi in Access Point (AP) mode by pressing the button two times.
- On your phone or PC, connect to the ZiggyMeter AP. Look for a Wi‑Fi network named ZiggyMeter-XXXX, where XXXX is unique number.
- Once connected, open the ZiggyMeter AP address in your browser:
https://192.168.4.1. - You should see the login screen. Enter credentials and click Login.
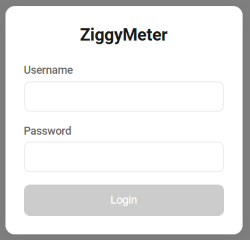
- After successful login, the dashboard view is displayed.
TIP
Your phone/PC may show a “No internet” warning while connected to the AP. This is expected — you can safely ignore it.
Recommended Network Setup
It is recommended to configure access to your home/office Wi‑Fi network. Once set, whenever Wi‑Fi is activated the device will automatically join the configured network and will not create an AP.
- In the web interface, open WiFi.
- Enter your Wi‑Fi SSID and password, then save.
- On future activations, the device connects as a client to your network, making the web interface available at its IP/hostname.
If no Wi‑Fi network is available at the installation site, you can still operate the device using the built‑in Access Point (AP).
INFO
When connected as a client to your Wi‑Fi network, the device receives its IP address from the router (not 192.168.4.1). Check your router’s DHCP/clients list to find the assigned address. Alternatively, you can access the device by its network name ZiggyMeter-XXXX.
Configuration options
Web interface is divided into following sections:
- Dashboard
- Meter
- WiFi
- Zigbee
- Home Assistant
- System